Atwood Water Heater Maintenance
This guide on Atwood Water Heater Maintenance will describe:
- How to shield tank corrosion
- How to flush Atwood RV water heater
- How to inspect and replace heating element
- And more
Table of Contents
Atwood Water Heater Maintenance
Here are the step-by-step maintenance tips you can follow to prolong the life and efficiency of your Atwood RV Water Heater.
1. Water Heater Tank Corrosion
Tank corrosion is a critical RV water heater issue that can lead to pinhole leaks or the ultimate failure of the entire unit.
Galvanic corrosion is the culprit behind this headache. It happens when microscopic metal particles like iron and copper are contained in your water. The interaction between these particles will set off a reaction in the water heater. You can compare it with the principle of a car battery.
Your water heater’s aluminum tank is the anode, and the metals contained in the water serve as a cathode. Unfortunately, the aluminum sacrifices itself in this corrosion process, and the aluminum particles get carried away with the water flow.
The white scaly formation you see in the tank is the consequence of the reaction. And, surprise, heat makes things speed up even more and causes the tank to get corroded.
Now, here’s the real kicker—the severity of this corrosion party can vary based on where you live and the metals and minerals in your water.
Fortunately, flushing your RV water heater can slow down the corrosion process. I will share the nitty-gritty of flushing the RV water heater below.
2. How To Flush Atwood RV Water Heater?
Flushing your RV water heater is a must to maintain its optimal performance. Here’s the step-by-step guide on how to give it a good flush:
- Turn off the water supply to your RV water heater.
- Drain your water heater. Regarding this, remove the drain plug and let the water run out. Once you drain the unit, reinstall the drain plug.
- Remove the pressure-temperature relief valve and pour a solution of vinegar and white using a funnel. Use four parts white vinegar and two parts water to make this solution.
- Cycle the water heater by letting it run under normal operation (4-5 times).
- After cycling the water heater, drain the water heater again by removing the drain plug.
- Now, flush your RV water heater to remove the vinegar from the unit. You can choose an air pressure or freshwater method to pump out the vinegar from the unit. If you select the air pressure method, remove the pressure-temperature relief valve first. Then, insert the air pressure through the pressure-temperature relief valve coupling. It will help force the remaining water out of the unit.
- Reinstall the drain plug and the pressure-temperature relief valve.
- Finally, refill your RV water heater tank with freshwater.
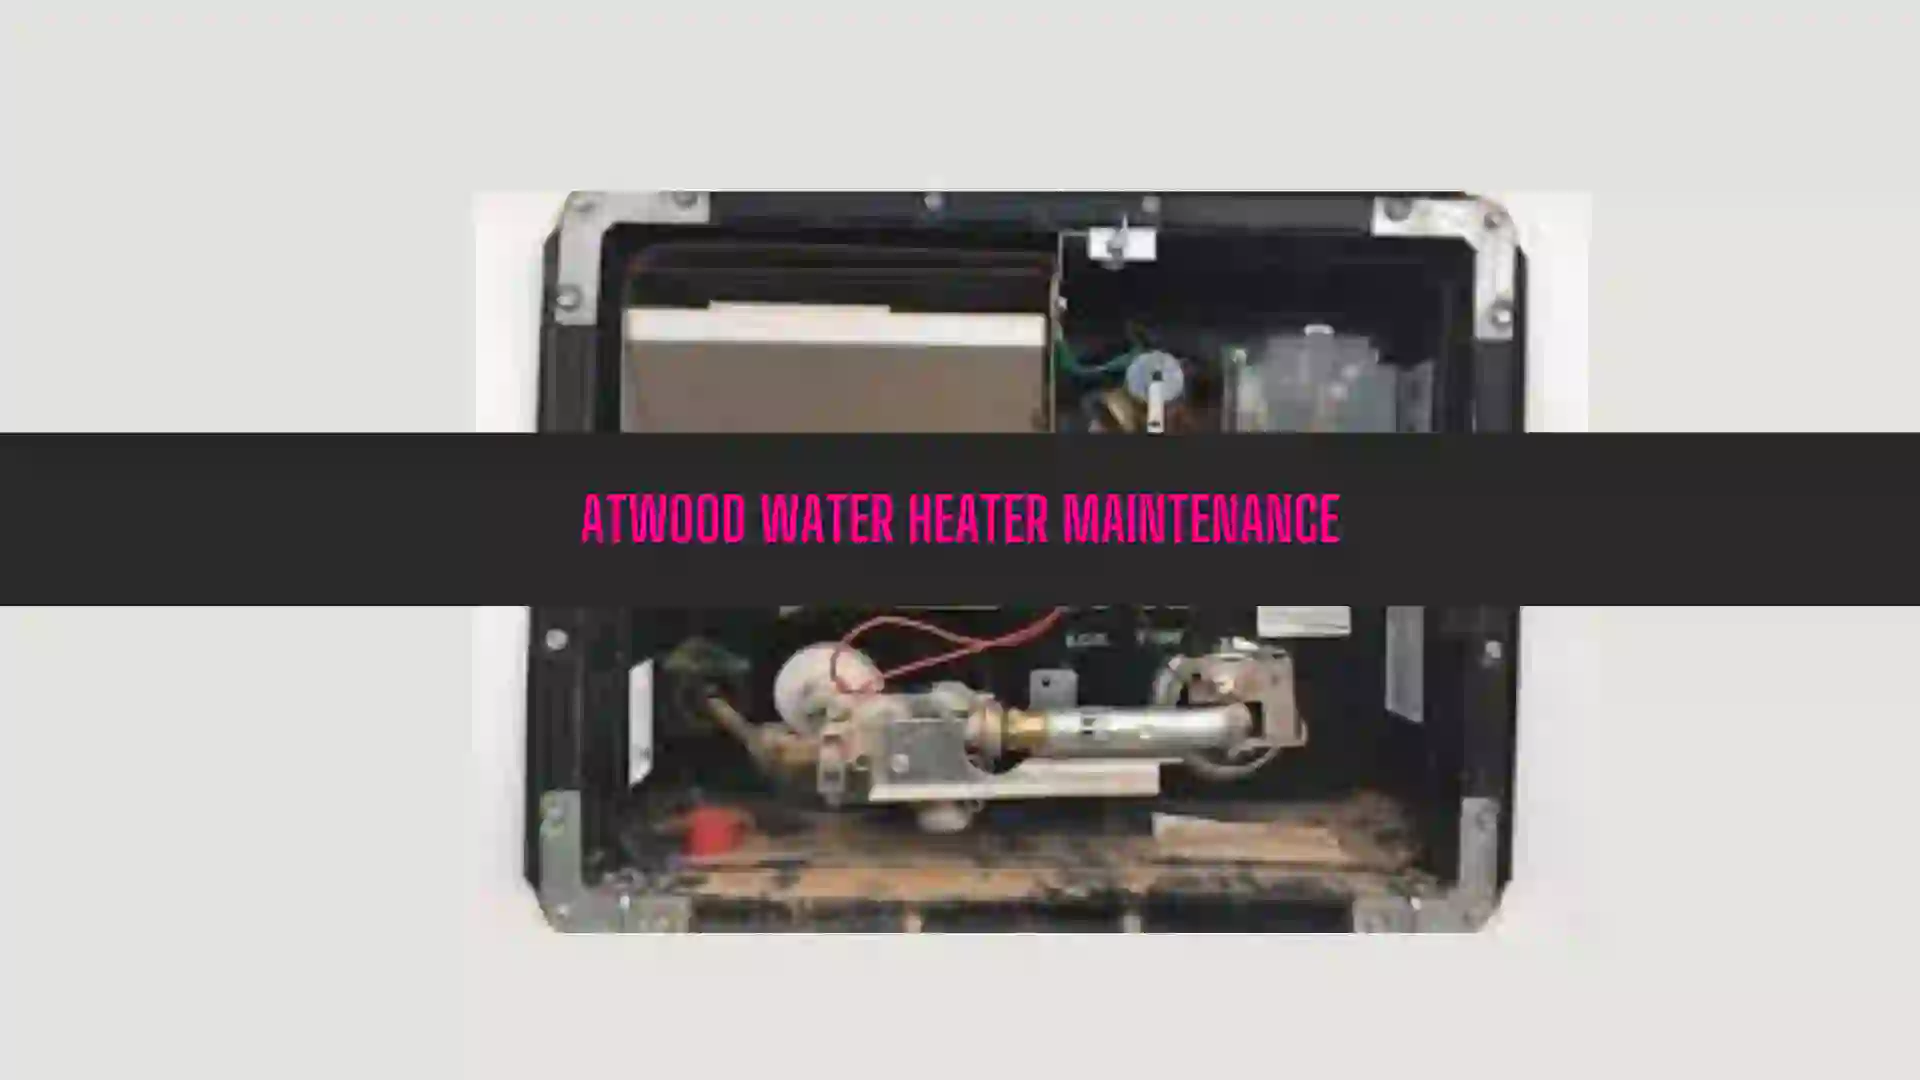
3. Inspecting the Heating Element
Ensuring the optimal performance of your Atwood heating element is crucial before considering a replacement. Here’s a detailed guide on how to inspect the heating element electrically for resistance:
1. Prepare for Inspection:
Before diving into the inspection process, take safety precautions. Turn off the unit and shut off the electric and gas supply to your RV water heater.
2. Locate the Heating Element:
Identify the position of the heating element on your RV water heater. Typically, you can locate it at the back of the unit. I highly recommend pulling the entire unit out of your RV for easy access to the heating element.
3. Use a Multimeter:
Once you access the heating element, get a multimeter and set it to Ohms settings. Then, touch the probes of the multimeter to the screws of the heating element.
4. Check for Resistance:
A healthy heating element should show resistance when measured. If not, I bet the heating element is defective.
5. Consider Replacement if Necessary:
If the inspection reveals no resistance or an abnormal reading, it’s likely that the heating element is faulty. In such cases, you should replace the heating element.
This tutorial will help you learn how to make that replacement:
4. Weeping of Pressure Temperature Relief Valve
Have you ever noticed weeping or dripping from your pressure-temperature relief valve while the unit does its jobs? It doesn’t mean your valve or the water heater is on the fritz. Here’s the lowdown on this normal occurrence:
Why the Weeping?
In the closed water system of your RV, the water expands as it heats up. This expansion can lead to weeping or dripping from the temperature-pressure relief valve.
Atwood’s Design Solution:
Your Atwood water heater tank has an internal air gap at the top. It helps reduce the likelihood of weeping and dripping. Over time, as the water expands, it absorbs this air, maintaining a smooth operation.
Air Replacement Steps:
Now, if you find the need to replace the air in your system, follow these simple steps:
- Turn off the water heater to stay at the safe side.
- Turn off the incoming water supply.
- Open the closest hot water faucet in the coach, which will help release any residual pressure in the system.
- Pull the handle of the pressure-temperature relief valve straight out to let the water flow until it stops.
- Bring life back to the water heater. Shut off the pressure-temperature relief valve, turn on the water supply, and close the hot water faucet.
Winterizing Your Atwood RV Water Heater
As the chill of winter sets in, it’s crucial to ensure your Atwood RV water heater is winter-ready. Follow these steps for a smooth winterizing process:
1. Turn off your main water supply
Your main water supply can be the pump or a hook-up source. Just turn off to pause the water supply to the unit.
2. Drain your water heater inner tank
Open the drain plug, but don’t be surprised if about two quarts of water remain in the tank’s bottom. This residual water contains most of the corrosive particles. If drainage seems tricky, open the relief valve to let air in or use a small gauge wire to clear any obstructions.
3. Thoroughly drain and flush the tank
Flush with air pressure or fresh water. For air pressure, apply it through the inlet, outlet, or the relief valve part. If using fresh water, pump it in with the onboard pump or external water through the inlet, outlet, or the relief valve coupling. Keep the drain valve open, letting the air pressure or fresh water force out remaining water and corrosive particles. Continue this flushing process for five minutes to remove the rotten egg smell and the deposits from the water heater.
4. Replace the drain plug and the pressure-temperature relief valve.
5. After completion of flushing the tank, there will be about two quarts of water at the bottom of the inner tank. Don’t worry if this water freezes; it won’t cause any tank splitting.
End-Note
Regular maintenance of your RV water heater will prevent tank corrosion and keep the unit in tip-top condition. And this guide on Atwood Water Heater Maintenance describes everything you need to know. Follow the step-by-step instructions and maintain the efficiency of the unit.
Read Also:
Sohel Rana is an expert writer on plumbing, HVAC, and appliance repair & troubleshooting. Since 2020, he has written on these specific topics, though his writing journey began in 2018. To learn more about him, read About Us page.
![Fogatti RV Tankless Water Heater Troubleshooting [Complete Guide]](https://sohelshome.com/wp-content/uploads/2023/11/fogatti-rv-tankless-water-heater-troubleshooting-768x432.webp)